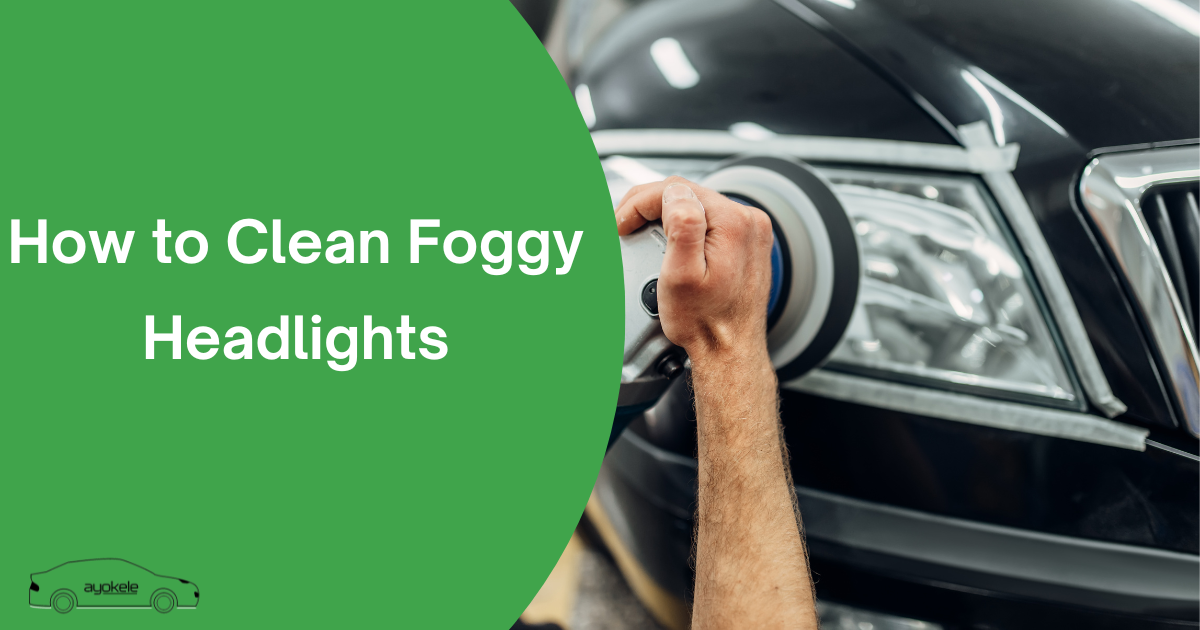
Foggy or cloudy headlights are a common problem for many car owners. Over time, exposure to sunlight, rain, dust, and road debris can cause the clear plastic covering your headlights to become dull and hazy. Not only does this make your car look older, but it also reduces the amount of light your headlights produce, making night driving less safe. The good news is that you can clean foggy headlights at home with a few simple steps and basic materials.
Why Do Headlights Get Foggy?
Most modern headlights are made from polycarbonate plastic, which is durable but prone to oxidation. UV rays from the sun break down the outer layer of the plastic, causing it to become cloudy. Dirt, chemicals, and moisture can also contribute to the problem. Cleaning your headlights restores their clarity, enhances your car’s appearance, and improves nighttime visibility.
What You’ll Need
- Mild soap and water
- Microfiber cloths or soft rags
- Masking tape
- Sandpaper (1000, 2000, and 3000 grit)
- Headlight restoration polish or toothpaste (non-gel, plain white)
- Sponge or applicator pad
- UV sealant or clear car wax (optional, but recommended)
Step-by-Step Guide to Cleaning Foggy Headlights
1. Wash and Dry the Headlights
Start by washing your headlights with mild soap and water to remove surface dirt and grime. Dry them thoroughly with a microfiber cloth. This ensures you’re not rubbing dirt into the plastic during the restoration process.
2. Protect the Surrounding Area
Use masking tape to cover the paint and trim around your headlights. This will protect your car’s finish from accidental scratches while you work.
3. Sand the Headlights
Wet a piece of 1000-grit sandpaper and gently sand the surface of the headlight in a horizontal motion. Keep the surface and sandpaper wet to avoid scratching. After a few minutes, switch to 2000-grit sandpaper and sand in a vertical motion. Finish with 3000-grit sandpaper, again using a different direction. This process removes the oxidized layer and smooths the surface.
4. Apply Polish or Toothpaste
Put a small amount of headlight restoration polish or plain white toothpaste on a soft cloth or applicator pad. Rub it onto the headlight in a circular motion, applying firm pressure. The mild abrasives in the polish or toothpaste help remove any remaining haze and restore clarity.
5. Buff and Clean
Wipe off the polish or toothpaste with a clean microfiber cloth. Buff the headlight until it looks clear and shiny. If needed, repeat the polishing step for better results.
6. Apply UV Sealant or Wax (Optional)
To help prevent the headlights from becoming foggy again, apply a UV sealant or a layer of clear car wax. This adds a protective barrier against sun damage and keeps your headlights clearer for longer.
Tips for Best Results
- Always keep the surface and sandpaper wet while sanding to avoid scratches.
- Work slowly and check your progress often.
- If your headlights are severely yellowed or pitted, you may need a professional restoration kit or consider replacing them.
- Regularly wash and wax your headlights to keep them clear.
Conclusion
Cleaning foggy headlights is a simple DIY task that can make a big difference in your car’s appearance and your safety on the road. With a bit of time and effort, you can restore your headlights to like-new condition, enjoying brighter, safer night driving.


